Painting the case
After preparing the case the next step is to sand down the surface for painting. I used 220 grit sandpaper to start with, then 400, and 600 to finish it off. Once the case was nice and smooth I used some painter's tape, and clear plastic to seal off the areas I didn't want painted

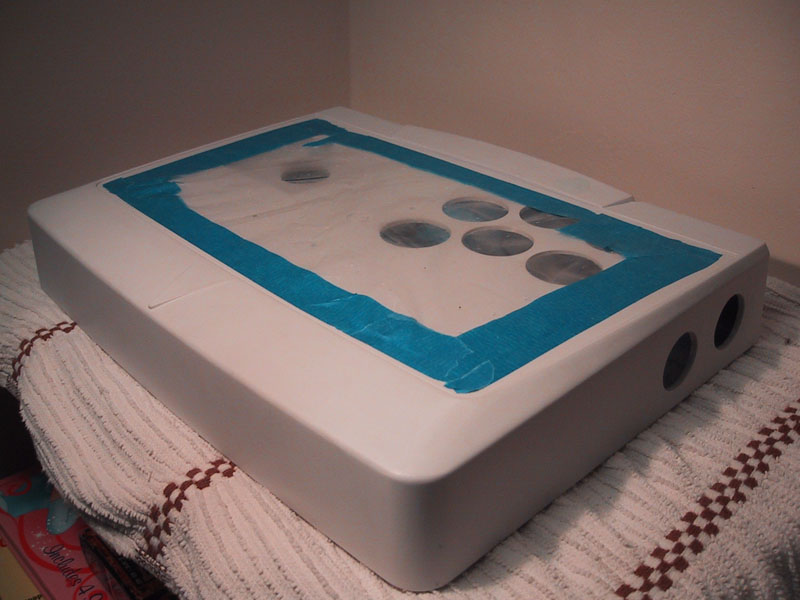
Sealed off and ready for paint.
I used "Rust-Oleum automobile primer" as the primer. I applied several (5-6) thin coats and sanded occasionally with 400 grit sandpaper to keep it nice and smooth. After a final sanding I cleaned any dust and dirt off with a damp cloth and let it dry.
To get the super-glossy black finish that I wanted I used "Rust-Oleum Lacquer high lustre coating" in gloss black. Again I applied several thin coast and built up the finish. Because of the shape of the Agetec pay special attention to the nooks and crannies at the back, make sure everything is covered.
To help with the painting I made a stand to hold the case while I painted it. I used the cardboard tube from a roll of paper towels, and stapled it to a spare piece of drywall I had lying around (you could use wood, or anything that has some weight to it). The tubes fit into the supports on the inside of the case and held it quite steady.
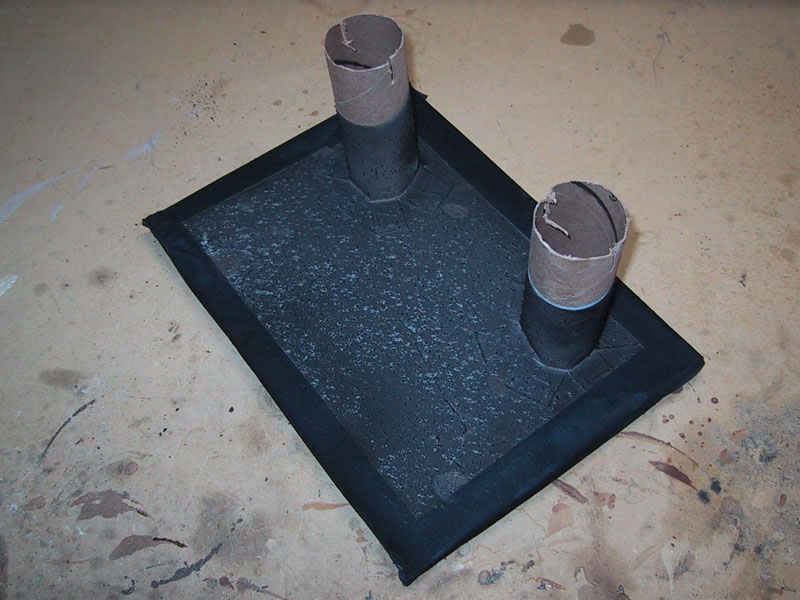
The painting stand.
Once everything is dry you can add the artwork.
Adding Artwork
The Agetec stick comes with a metal panel that covers the top of the case. In this mod I have replaced this panel with artwork and covered it with Lexan.
The first stage in this process is cutting the Lexan to size. Use the metal panel from the original stick as a template. Tape the panel to the Lexan, and use a sharp utility knife to score around the edges. Do one face of the panel at a time, making several shallow cuts.
Cutting the Lexan.
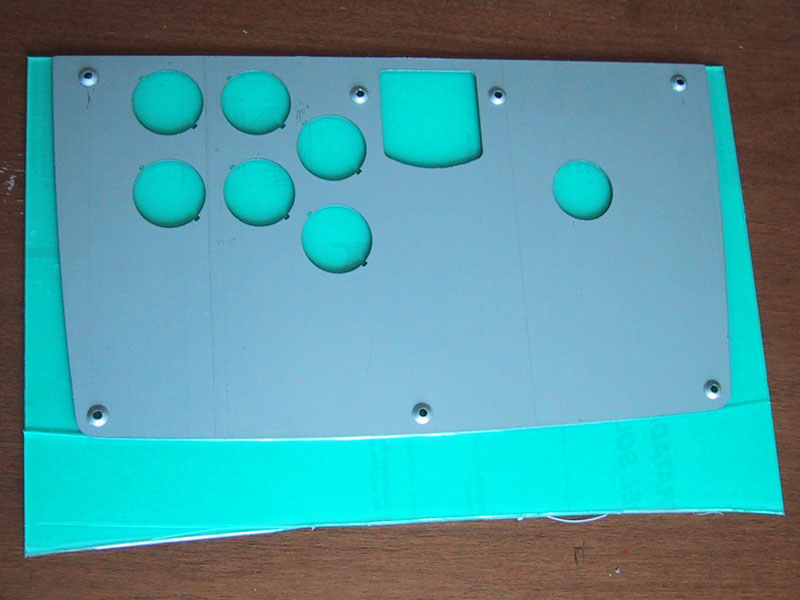
Once you are about half-way through you should be able to bend it, and snap off the excess. Repeat for each side, and then sand down the sides to make them smooth. I kept the metal panel taped to the lexan so I could drill the holes for the screws that hold it to the case, these were countersunk so I could use the original screws.
The completed Lexan cover.
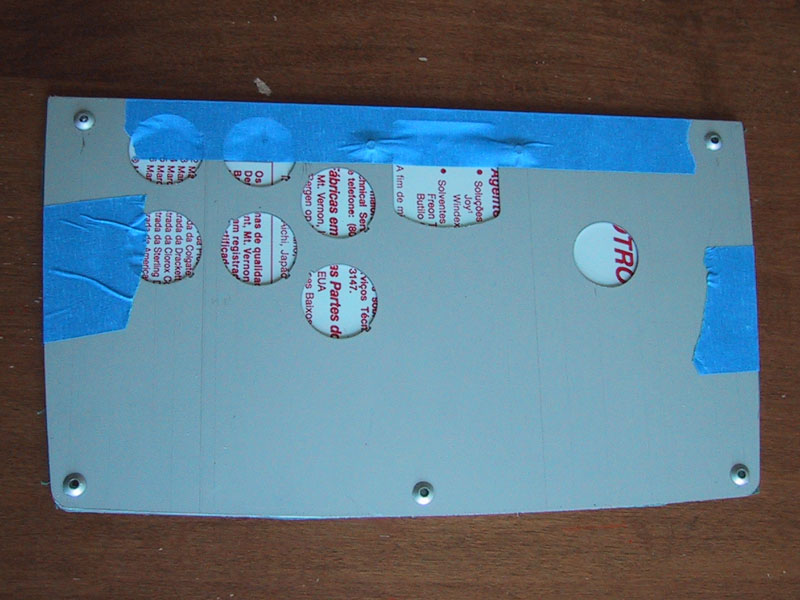
After this was shaped, I removed the metal panel and screwed it into the case. Using the holes in the case as a template I drilled the holes for the buttons and joystick.
Using sandpaper I sanded down the top edges so that there were no sharp angles on the palm rests, this takes a lot of time, but be carefuland you'll get good results.
The artwork was printed out onto an 11x17" (tabloid) sheet of paper, and then cut to size using the lexan as a template. Place the artwork onto the case, and screw down the lexan and you can then add the buttons and joystick.