Wiring
My aim in this project was to make a joystick that will work on any system, so I decided to use project boxes to house external convertors, instead of having any circuitary inside the joystick itself.
Since I had a few VGA extension cables lying around, I decided on using a VGA style HD-15 connector. This gives me 14 usable pins, enough to wire 8 buttons and the joystick with one pin to spare.
Pinout
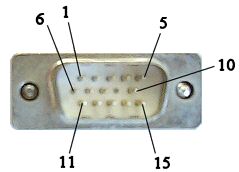
The HD-15 connector.
| Pin | Standard | Playstation | Dreamcast | Gamecube |
|---|---|---|---|---|
| 1 | Ground | Ground | Ground | Ground |
| 2 | Button 1 |  | A | B |
| 3 | Button 2 |  | X | A |
| 4 | Button 3 | R1 | R | R |
| 5 | Button 4 |  | X | Y |
| 6 | Button 5 |  | Y | X |
| 7 | Button 6 | L1 | L | L |
| 8 | nothing | nothing | nothing | nothing |
| 9 | N/A | N/A | N/A | N/A |
| 10 | Up | Up | Up | Up |
| 11 | Down | Down | Down | Down |
| 12 | Left | Left | Left | Left |
| 13 | Right | Right | Right | Right |
| 14 | Start | Start | Start | Start |
| 15 | Select | Select | nothing | Z |
Inside the joystick just connect each button, or direction to the corresponding pin. Then wire the ground in a long loop from the ground pin to every button, ending up at the ground wire from the joystick.
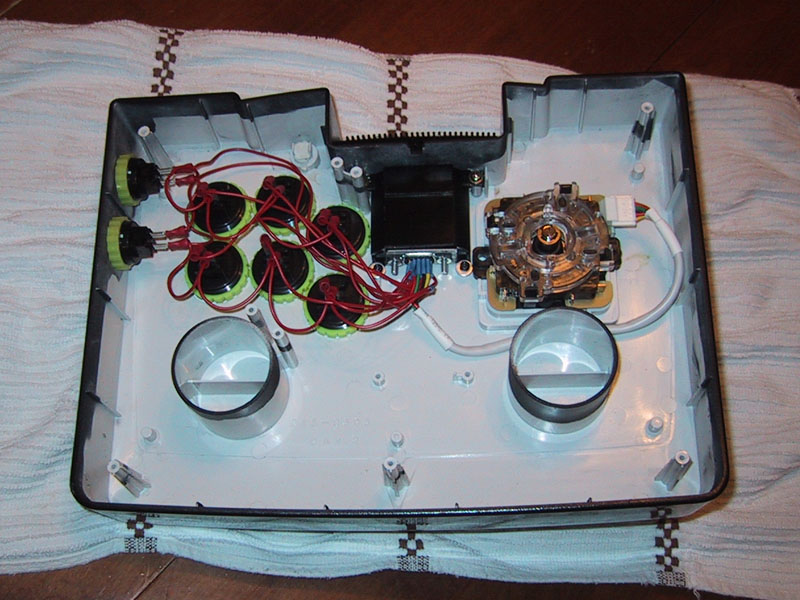
Inside the completed joystick.
I used the memory card holder of the original joystick to hold the HD-15 connector. I used a piece of metal cut from a PCI cover as a back plate for this.
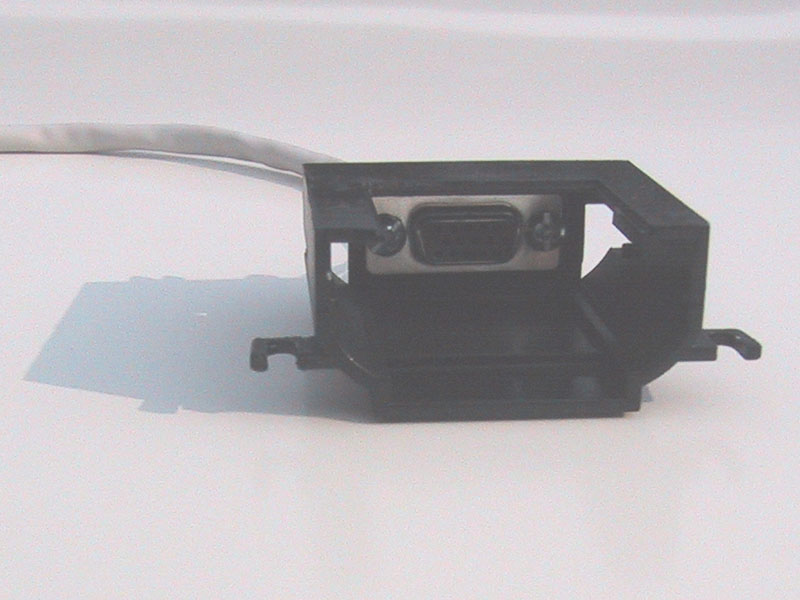

The VMU holder modified with the HD-15 connector.
Project Boxes
The project boxes are made in much the same way as you'd hack a pad for use in a 'standard' joystick, but instead of attaching the wires to the buttons, you attach them to the pins of the HD-15 connector.
I wired the gamepad using Spiffyshoes' solderless A-series hack which is probably the easiest method, and requires no soldering.
Inside the Playstation project box.
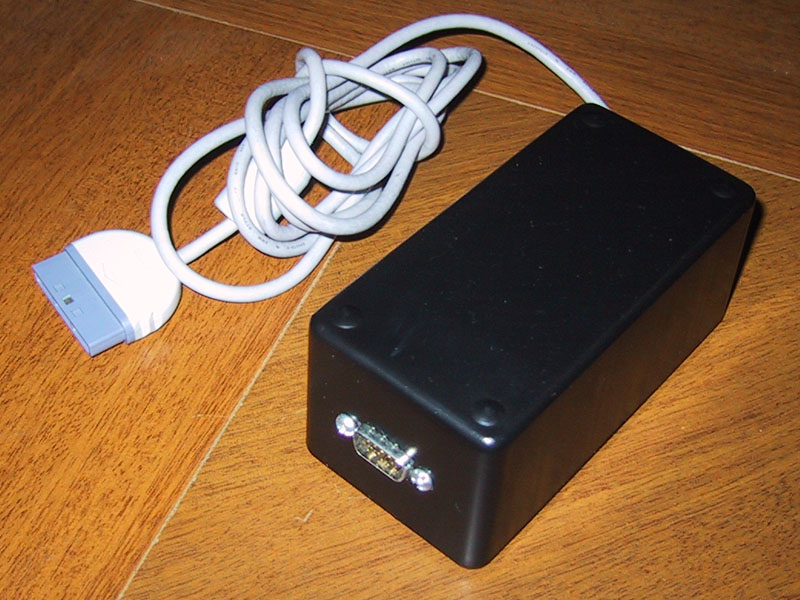
The outside of the project box, showing the VGA port.
For the dreamcast convertor I uesd the PCB from the original Agetec, which I saved after removing it. I wanted the stick to function as a standard dreamcast pad, so I decided to hard-wire a memory card to the PCB so the I could save games without having another controller plugged in.
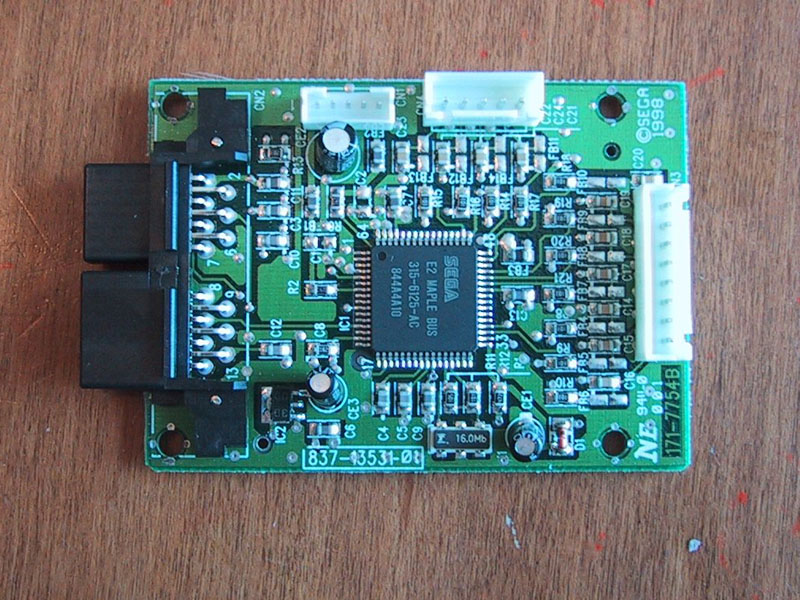
The PCB. The connectors, clockwise from the top left, are: System Cable, Joystick, buttons.
The Agetec PCB was very easy to work with, since it uses small connectors that attach to the buttons and joystick. I just soldered those wires to the correct pins and it was done.
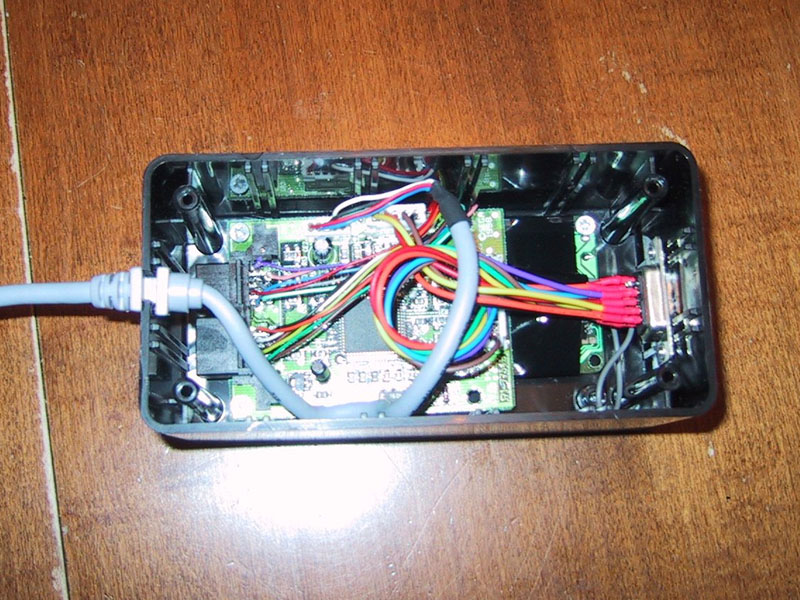
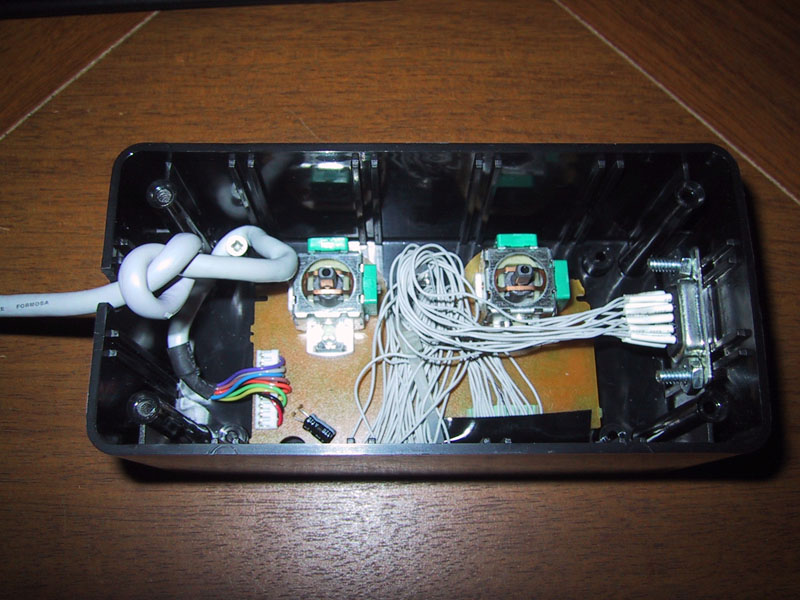
Inside the Dreamcast project box. In the top right of the picture you can see the PCB of the memory card that I hard wired to the original PCB.